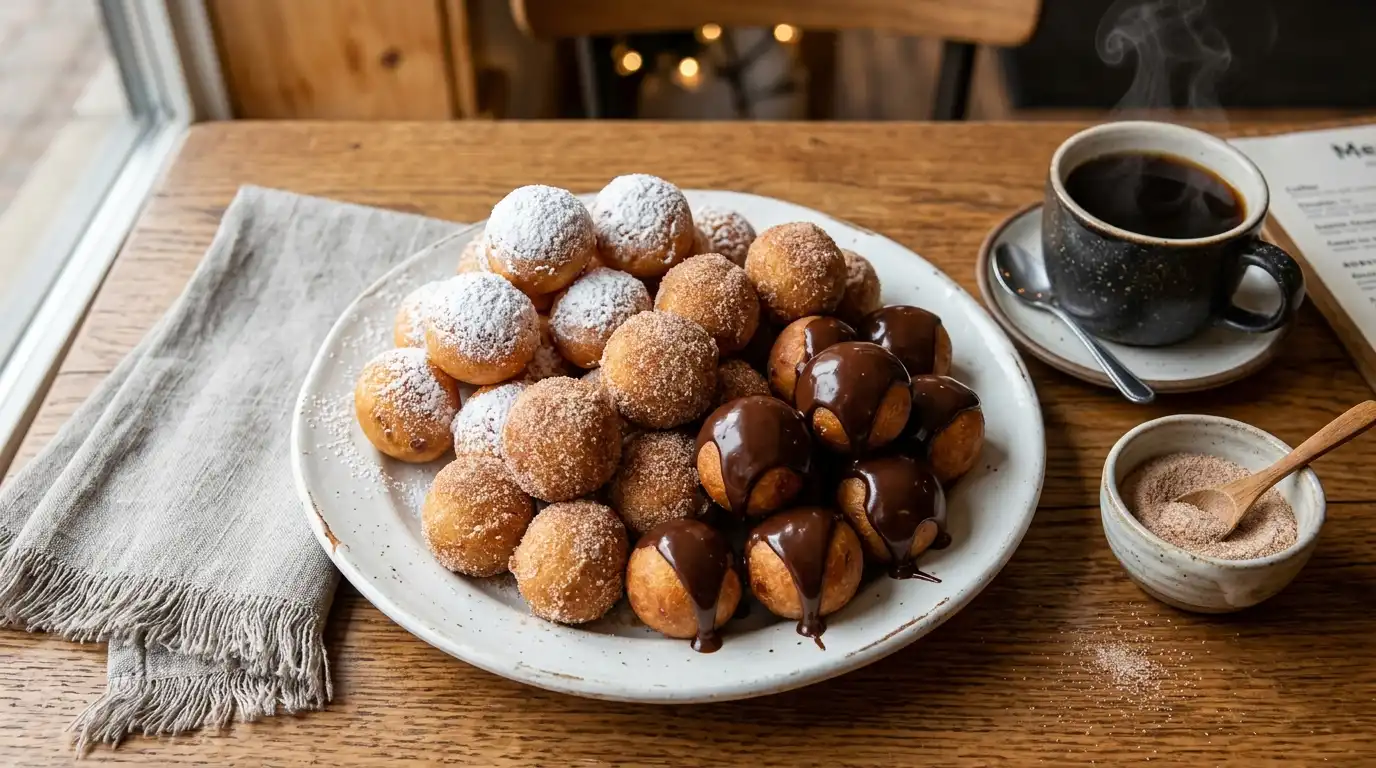
Perfect Homemade Timbits Recipe – Easy Canadian Donut Holes
Bite-sized, pillowy Timbits that bring Tim Hortons-style magic to your kitchen — tested and perfected.
Quick note: Timbits® and Tim Hortons® are registered trademarks of Tim Hortons. This is an independent copycat Timbits recipe inspired by those iconic donut holes — it is not affiliated with or endorsed by the company.
Recipe at a Glance
| Prep time | 15 minutes |
| Cook time | 15 minutes |
| Total time | 30 minutes |
| Yield | About 30 donut holes |
| Serving size | 3 donut holes |
| Calories | ~110 kcal per serving (cinnamon-sugar coating) |
| Course | Dessert, Snack |
| Cuisine | Canadian |
Why You’ll Love These Homemade Timbits
- Light, airy texture that stays tender thanks to a lightly enriched dough.
- Balanced sweetness — these Timbits are sweet enough to satisfy, not cloying.
- Pantry-simple ingredients you likely already have.
- 30 minutes start to finish — no overnight proofing.
- Four finishes in one batch: powdered sugar, cinnamon sugar, chocolate, or maple.
A note from my kitchen: The first time I made homemade Timbits I crowded the pot and the oil temperature crashed — the result was a greasy, heavy batch. Once I switched to frying just 6–8 Timbits at a time and kept a thermometer clipped to the side, every batch came out golden and light. That single fix made the biggest difference, so I’ve baked it into the steps below.
A Quick Word on Texture (the “Science” bit, kept short)
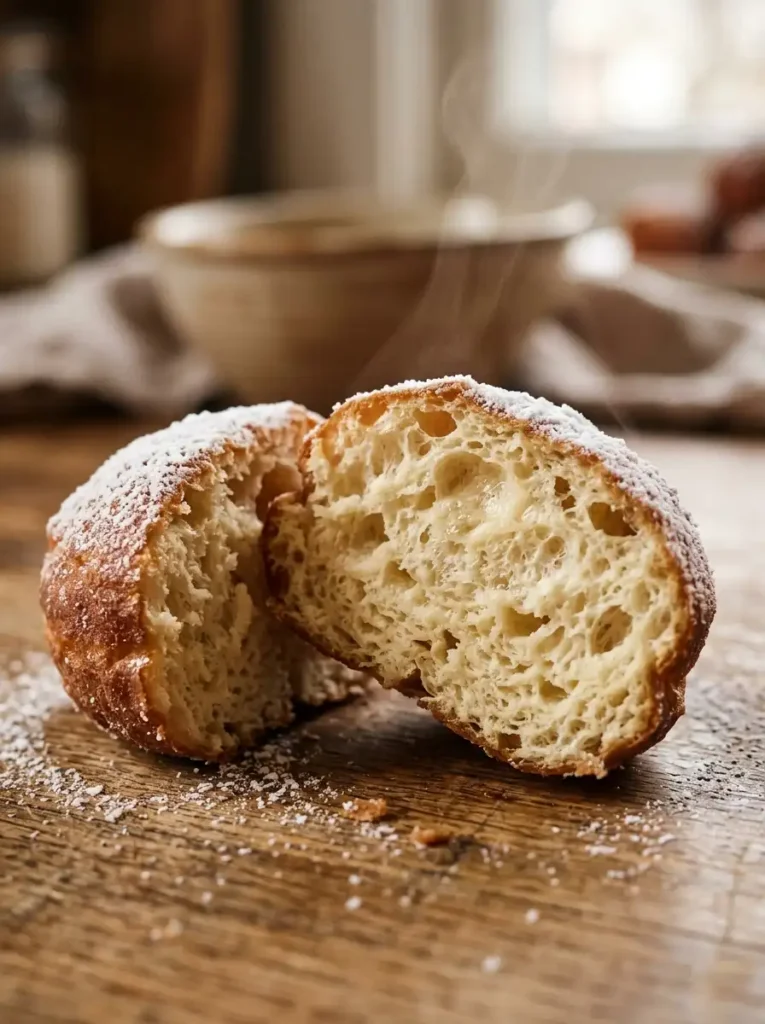
Two things decide whether your Timbits are bakery-good or disappointing:
- Oil temperature. Aim for 375°F (190°C). Too hot and the outside burns before the center cooks; too cool and the Timbits soak up oil and turn greasy.
- Mixing. Stir just until the flour disappears. Overmixing builds gluten, which makes the Timbits dense and chewy instead of soft.
That’s really it. Keep those two in check and the rest is easy.
Ingredients
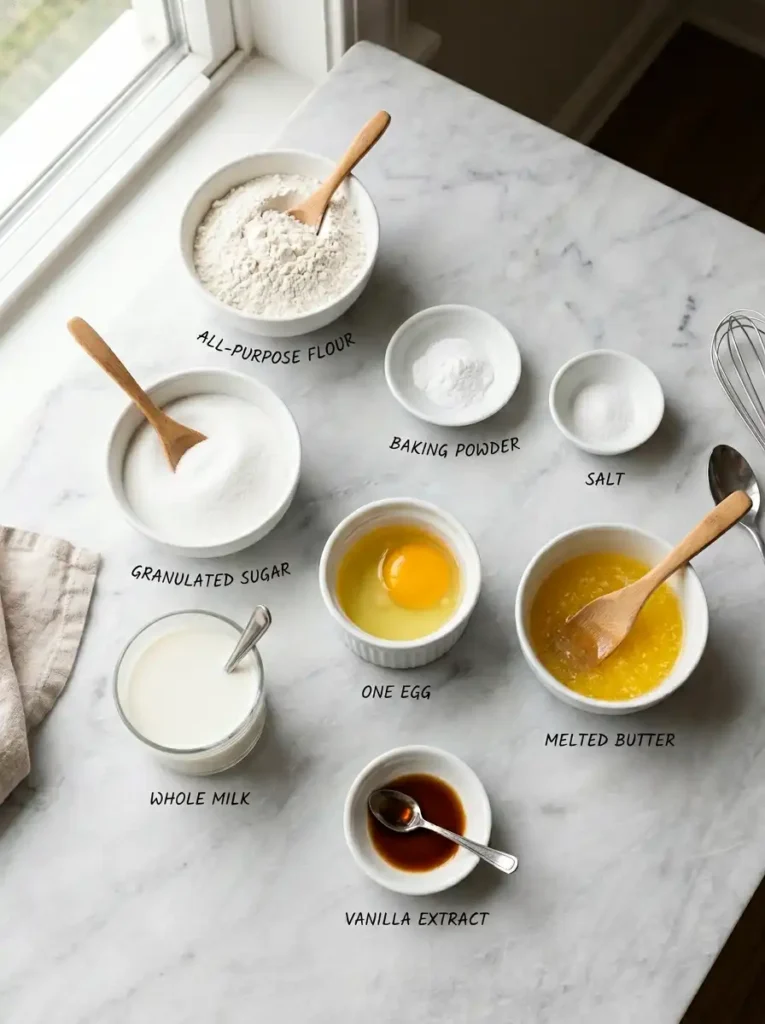
For the Timbits dough
- 2 cups (250 g) all-purpose flour
- ⅓ cup (67 g) granulated sugar
- 2 tsp baking powder
- ½ tsp salt
- 3 tbsp butter, melted and slightly cooled
- ¾ cup (180 ml) whole milk
- 1 large egg
- 1 tsp vanilla extract
For frying
- About 6 cups neutral oil (canola or vegetable), for deep frying
For finishing (pick your favorites)
- Powdered sugar — for dusting
- Cinnamon sugar — ¼ cup sugar + 1 tsp cinnamon
- Chocolate glaze — ½ cup melted chocolate + 1 tbsp butter
- Maple glaze — 1 cup powdered sugar + 2 tbsp maple syrup + a splash of milk
Step-by-Step Instructions
Step 1 — Heat the oil
Pour the oil into a deep, heavy pot (fill no more than halfway). Clip on a deep-fry thermometer and heat to 375°F (190°C).
Step 2 — Whisk the dry ingredients
In a large bowl, whisk together the flour, sugar, baking powder, and salt so everything is evenly distributed.
Step 3 — Combine the wet ingredients
In a separate bowl, whisk the melted butter, milk, egg, and vanilla until smooth. Make sure the butter has cooled a little so it doesn’t scramble the egg.
Step 4 — Make the dough
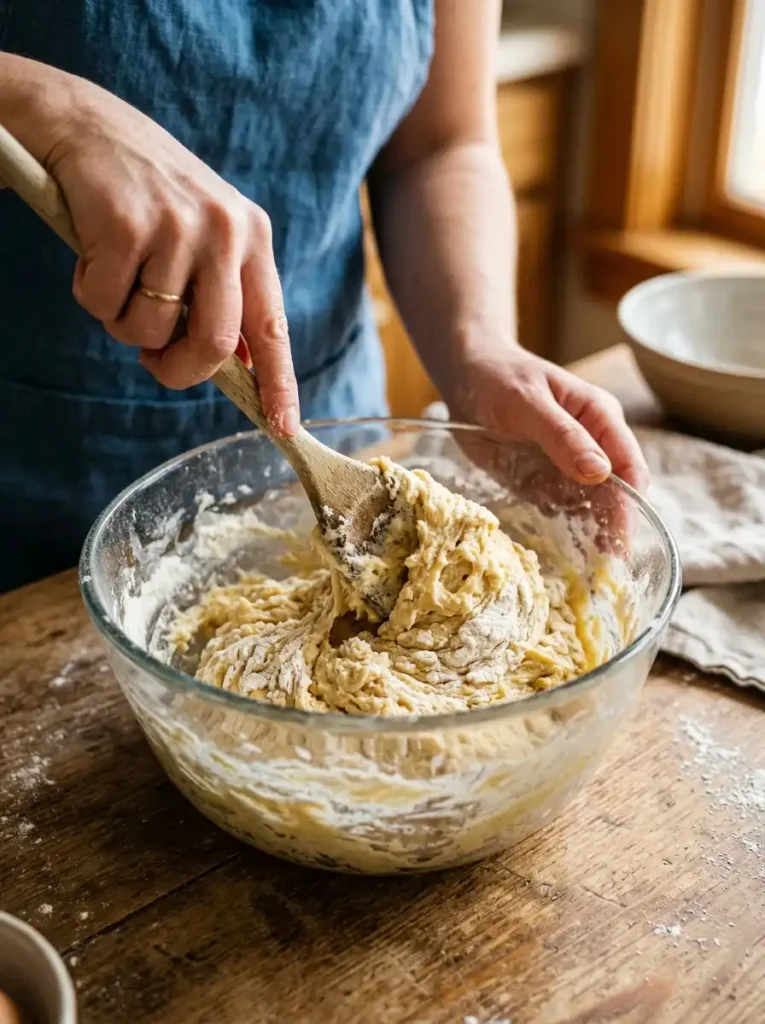
Pour the wet mixture into the dry and stir just until combined. The dough will be soft and slightly sticky — that’s exactly right. Don’t overmix.
Step 5 — Shape
Using a small cookie scoop (or two spoons), form 1-inch balls. Slightly irregular shapes are totally fine — they look homemade.

Step 6 — Fry
Carefully lower 6–8 balls into the oil at a time. Don’t crowd the pot — they need room to float. Fry 2–3 minutes, turning once, until deep golden all over. Let the oil come back up to 375°F between batches.
Step 7 — Drain and finish
Lift them out with a slotted spoon and drain on paper towels for about 30 seconds. While still warm, roll in cinnamon sugar or dust with powdered sugar.

Pro Tips
- Keep the temperature steady. Adjust the burner between batches to hold 375°F.
- The float test. They’re ready to flip once they float and the underside is golden.
- Glaze while warm. Chocolate and maple glazes cling best to slightly warm donut holes; sugar coatings also stick better while warm.
- Fresh is best. These are at their absolute peak within an hour of frying.
Flavor Variations
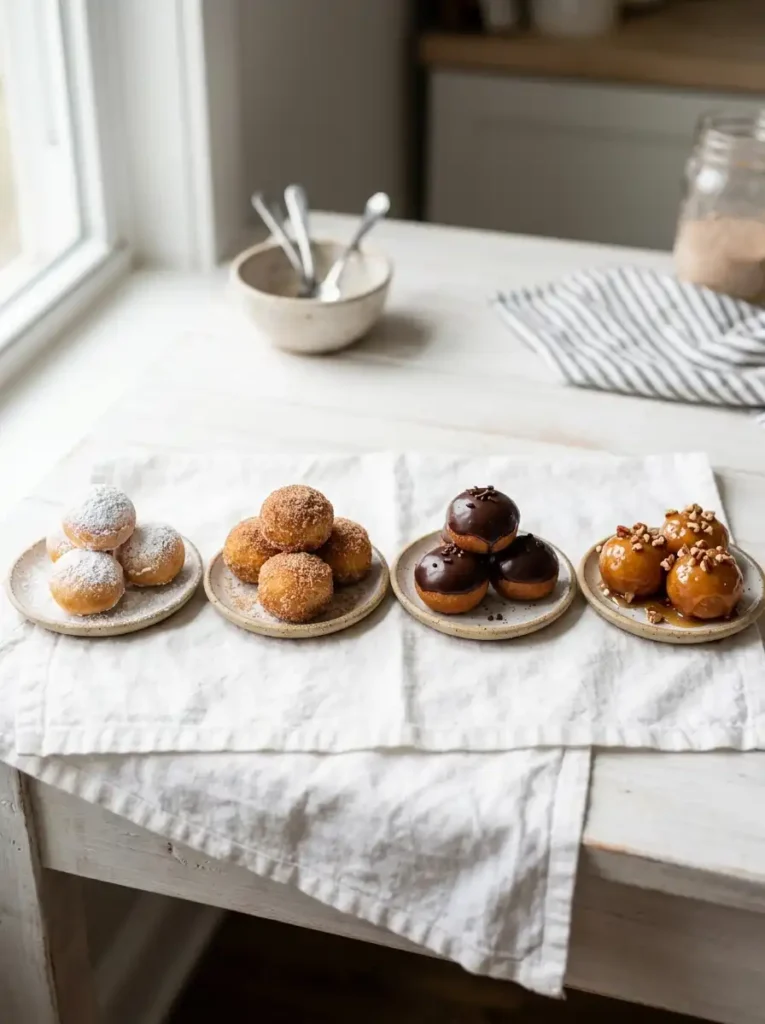
- Cinnamon Sugar (classic): Toss warm in ¼ cup sugar + 1 tsp cinnamon.
- Chocolate Glazed: Dip in ½ cup melted chocolate + 1 tbsp butter for a glossy finish.
- Powdered Sugar: A simple dusting — sometimes simplest is best.
- Maple Glazed (very Canadian): Whisk powdered sugar with real maple syrup and a splash of milk.
Want even more texture? For a crunchy twist, try tossing freshly fried Timbits in a little of my homemade streusel topping while they’re still warm and sticky.
Want a More Authentic, Yeast-Raised Version?
This baking-powder dough gives you quick, cake-style donut holes. If you want the chewier, bakery-style bite that’s closer to the original, you can make a yeasted dough instead: it needs about an hour to rise but delivers a stretchier crumb. (Link to your yeast donut recipe here.)
Troubleshooting
| Problem | Likely cause | Fix |
|---|---|---|
| Greasy donut holes | Oil too cool | Raise heat back to 375°F before adding the next batch |
| Burnt outside, raw inside | Oil too hot | Lower heat slightly; fry a bit more gently |
| Dense, heavy texture | Overmixed dough | Next time, stir only until just combined |
| Uneven cooking | Pot overcrowded | Fry only 6–8 at a time |
Storage
- Best: Fresh and warm, within an hour of frying.
- Room temperature: Covered, up to 2 days.
- Freezer: Airtight container, up to 1 month.
- Reheat: 350°F (175°C) oven for 3–4 minutes to revive the texture. Re-coat in sugar after reheating.
Frequently Asked Questions
What’s the difference between a Timbit and a regular donut hole?
Functionally none — “Timbit” is simply Tim Hortons’ brand name for their donut holes. Any bite-sized fried dough ball is a donut hole; this is a homemade copycat version.
Can I bake these instead of frying?
You can bake them at 375°F (190°C) for about 10–12 minutes, but the texture will be more muffin-like than the classic fried bite. Brush with melted butter before coating in sugar so it sticks.
Why did my donut holes turn out greasy?
Almost always because the oil dropped below temperature — usually from adding too many at once. Use a thermometer and fry in small batches.
Can I make the dough ahead?
This baking-powder dough is best fried right after mixing, since the leavening starts working immediately. For make-ahead, use a yeasted dough instead.
What oil is best for frying?
A neutral oil with a high smoke point — canola or vegetable oil both work well.
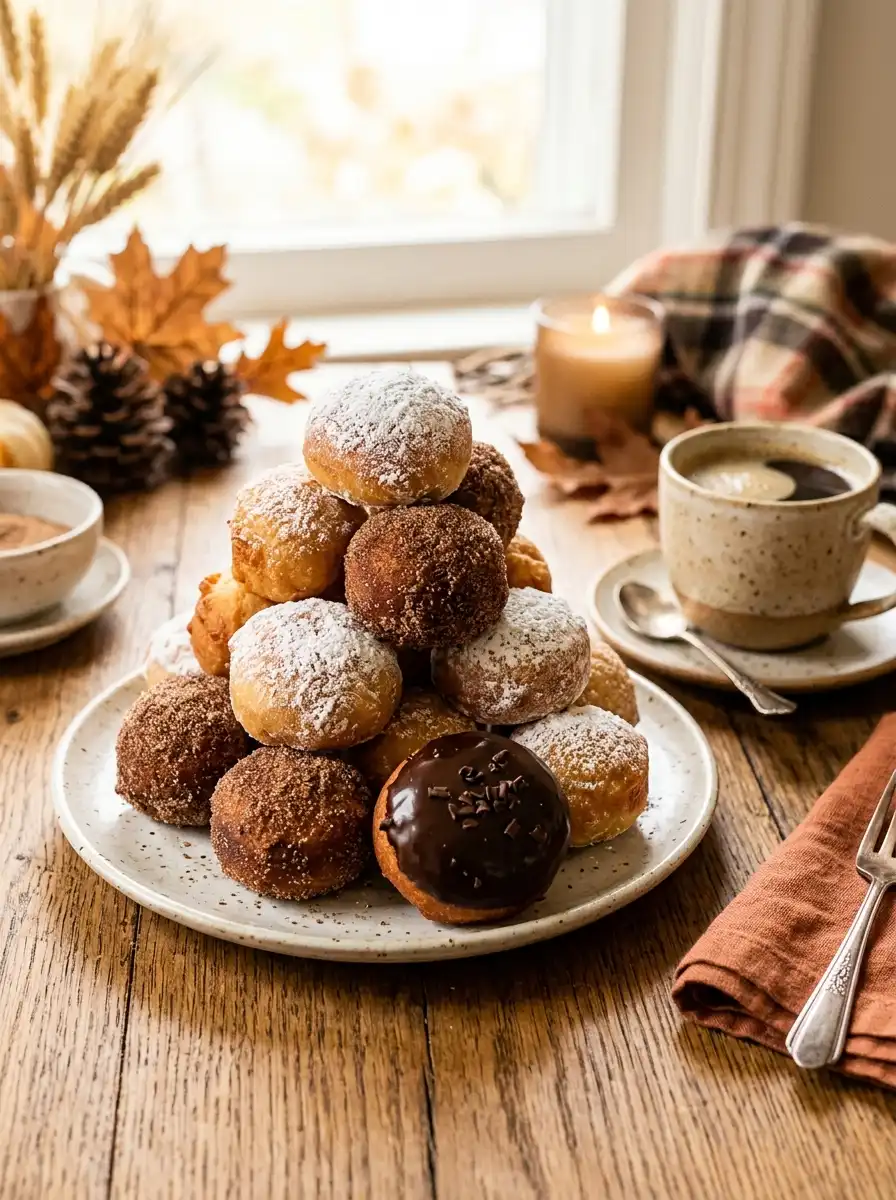
The Bottom Line

These copycat donut holes bring that cozy, Canadian-coffee-shop feeling right into your kitchen — warm, tender, and endlessly customizable. Master the basic recipe once, then play with glazes and coatings to make them your own.
Tried this recipe? Leave a comment with your favorite coating and how your batch turned out!
Read More:
Chinese Donuts: The Ultimate Buffet-Style Recipe
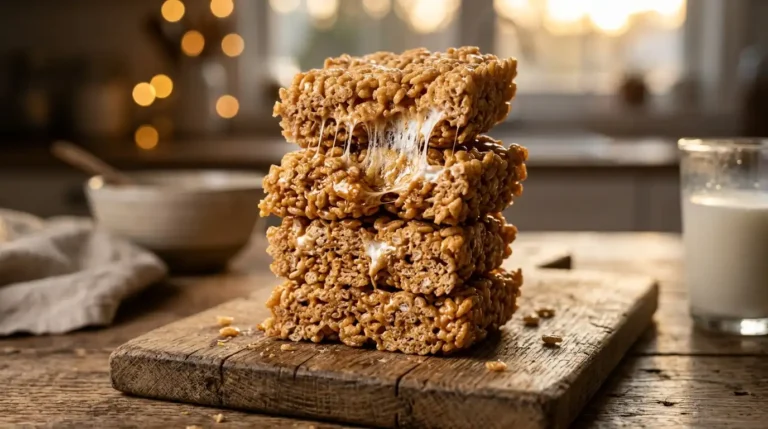
Brown Butter Rice Krispie Treats
Copycat Timbits (Homemade Canadian Donut Holes)
Ingredients
Equipment
Method
- Pour oil into a deep, heavy pot (no more than halfway) and heat to 375°F (190°C). Clip on a deep-fry thermometer.
- In a large bowl, whisk together the flour, sugar, baking powder, and salt.
- In a separate bowl, whisk the melted (cooled) butter, milk, egg, and vanilla until smooth.
- Pour the wet mixture into the dry ingredients and stir just until combined. The dough should be soft and slightly sticky — do not overmix.
- Using a small cookie scoop or two spoons, form 1-inch balls.
- Carefully lower 6–8 Timbits into the oil at a time. Fry for 2–3 minutes, turning once, until deep golden all over. Let the oil return to 375°F between batches.
- Drain on paper towels for 30 seconds. While still warm, roll in cinnamon sugar or dust with powdered sugar. Serve fresh.